 01
01
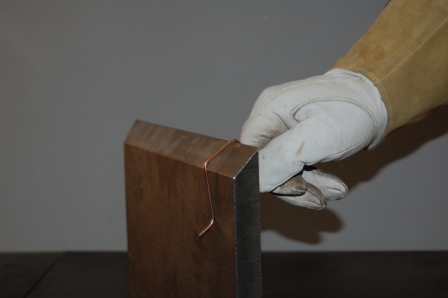
Slide onto the edge
The clip is fitted onto the prepared plate edge.
 Contact
01 / POSITION
Set the gap.
Position the plates.
The clips slide onto the plate edge before tack welding. Their wire diameter acts as a spacer to set the root gap between the components.
The principle: establish the gap during assembly, exactly where the welded joint will be made.
See how they work ↓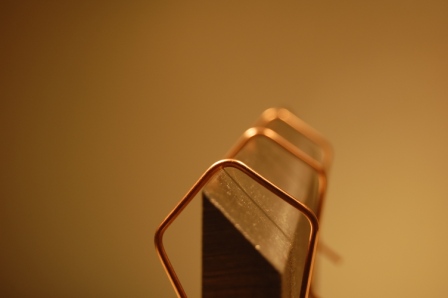
| Clip size | Plate thickness |
|---|---|
| 2.0 mm | 4–8 mm |
| 2.4 mm | 6–15 mm |
| 3.0 mm | 8–35 mm |
| 4.0 mm | 12–40 mm |
| 5.0 mm | 15–50 mm |
IN USE
The welding gap clip is used when positioning the components. These photographs show the preparation; the complete technical sequence is illustrated in the original instructions below.
01
The clip is fitted onto the prepared plate edge.
 02
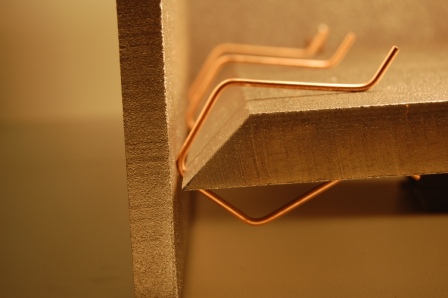
02
During assembly, the clips sit between the plates and set the gap.
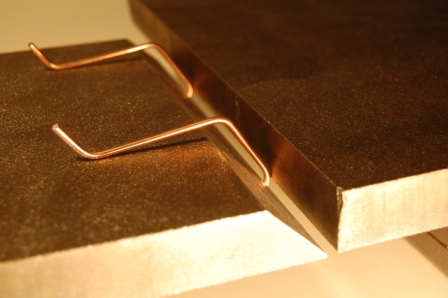 DETAIL
Follow the instructions and the applicable welding procedure for subsequent handling and root-pass welding.
English translation of the instructions with all four technical illustrations. Open the image to enlarge it.
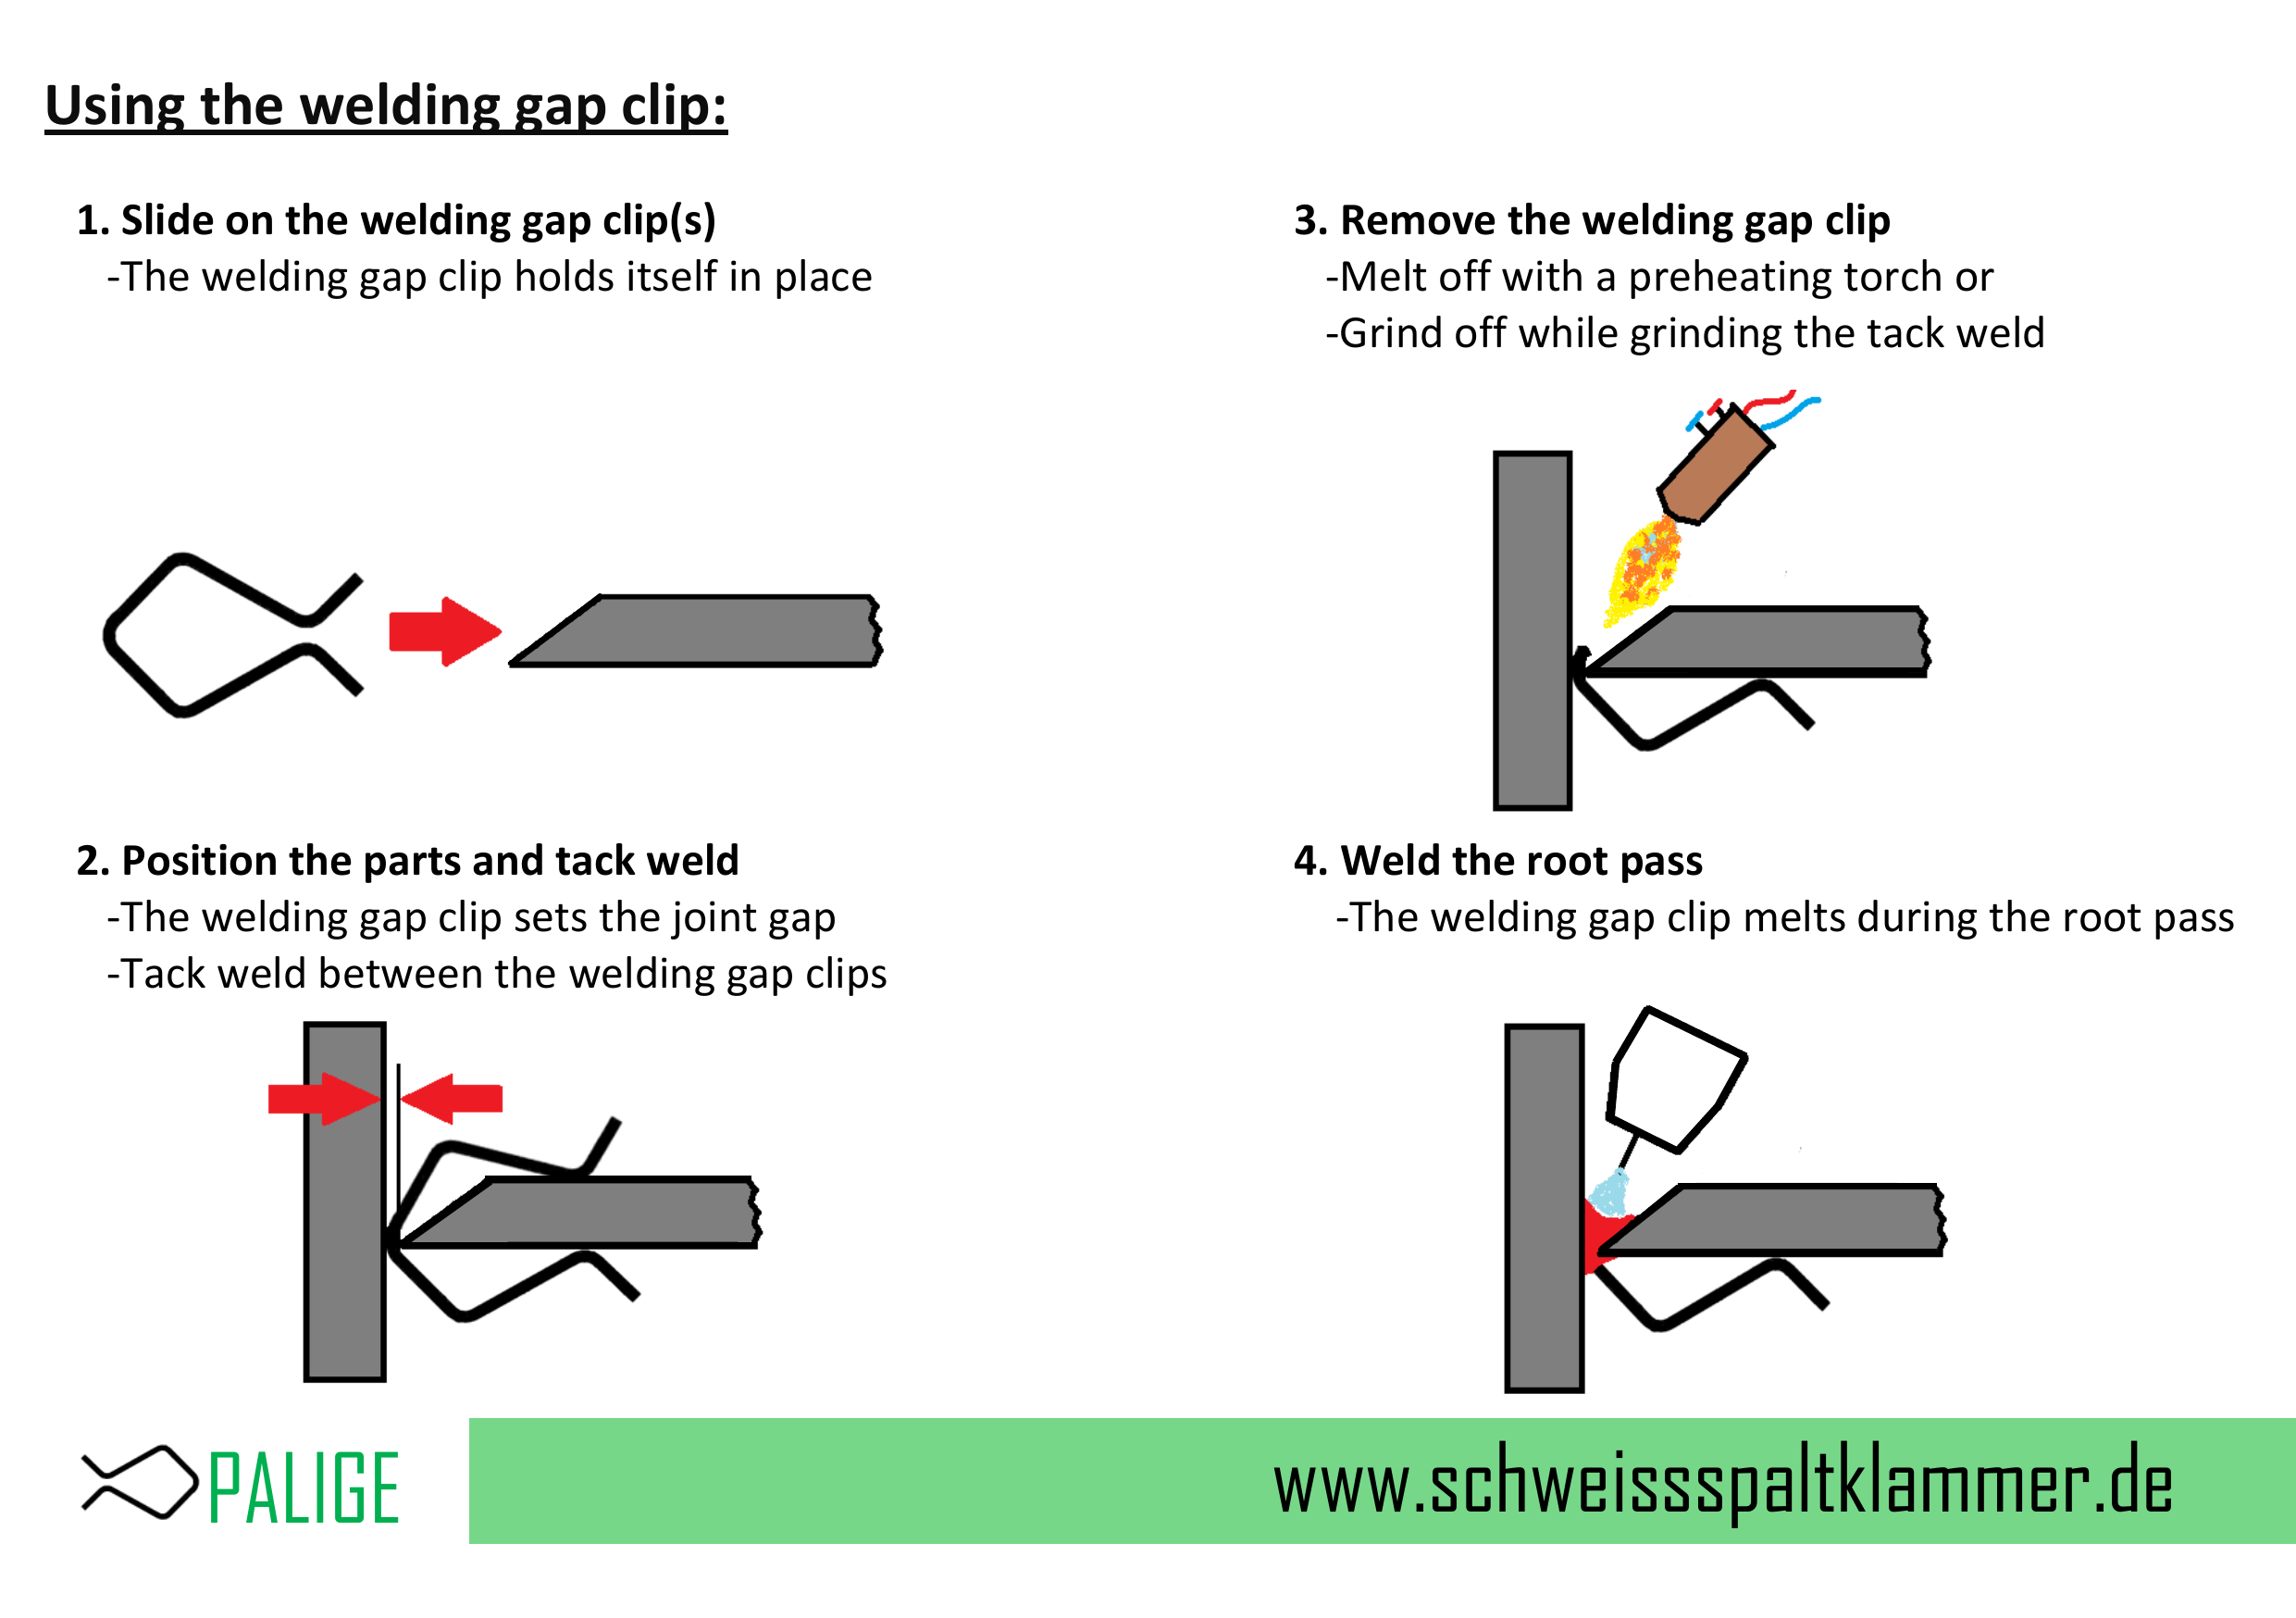
These instructions complement the workplace welding procedure. Material, gap size and welding process must be selected for the specific application.
CONTACT PALIGE
Have a product question or need a quotation? Tell us the required version and quantity.
Please place orders by email.
verkauf@palige-schweisstechnik.de